We have all been there: standing in the store staring down a bottle of Sun In. We pick it up, read the back, and put it down again.
This is all accompanied with questions like – does sun in work? Is sun in damaging to the hair? Will sun in work on brown hair?
As a licensed cosmetologist, I am here to answer all of these questions and many more!
Contents
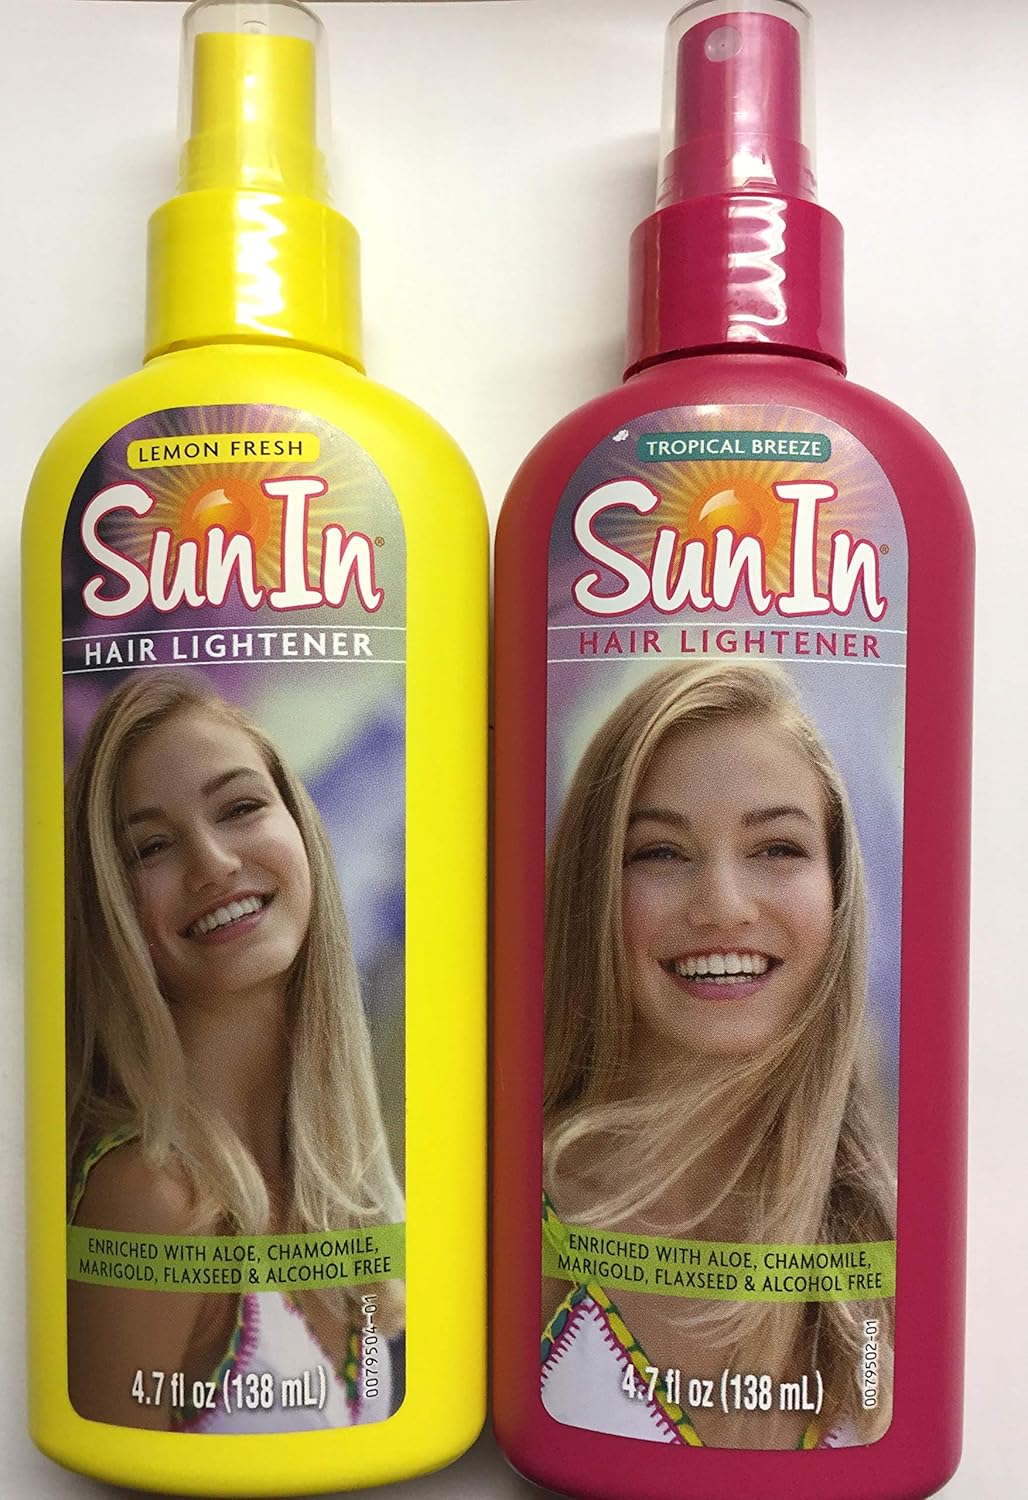
What Is Sun In?
Sun in is a lightening product that can be used as an alternative to bleach and traditional color.
It has been around for over 30 years, and I remember using it as a kid in Florida, which was one of my more unfortunate choices in life…we will get more into why that is later.
Unlike the formula I used back in the day, Sun in has redone and revamped its formula to be alcohol-free, paraben-free and they never do animal testing.
What Are The Ingredients In Sun In?
Sun in is now made with added botanical extracts, aloe, and special illuminators. The main ingredients in it are what helps lift your hair to that blonde color and these two ingredients are hydrogen peroxide and lemon juice.
Hydrogen peroxide is used with every color or bleach product to change your hair. It is essentially the key ingredient in the hair coloring process.
Your hair will not change colors without hydrogen peroxide because it is the chemical ingredient that rearranges the hair follicle and opens it up, which helps to remove the natural pigment of your hair, allowing a new color to easily replace it.
The aloe vera leaf juice and chamomile flower extract will help moisturizer your hair as it lifts which helps decrease damage done, and it also makes it smell good.
Does Sun In Work?
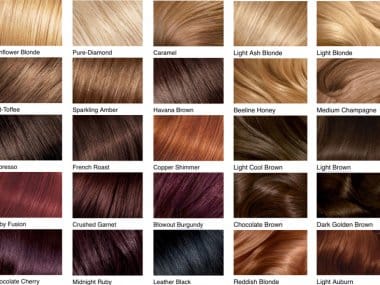
This is where sun in might get tricky. Does it work on all hair, yes, but not everyone will get a blonde result. It will change hair color, but it won’t turn everyone’s hair blonde but rather different shades of copper, red, and brown.
Those with medium brown to dark hair WILL NOT see blonde results but rather a red or copper pigment. This was my big mistake when I was younger and went to Florida.
Ahh yes, the classic Florida trip my family still reminds me of. I mean, the logistics of how a 12-year-old like me was able to buy, pack, and use Sun in without the knowledge of parents ever knowing is both impressive and overall stupid on my part. My 12-year-old self didn’t know anything about hair color, and being born with black hair meant I was never going to get a blonde color but rather orange hair.
Anyone with dark black or brown hair needs the help of bleach to achieve a blonde color. If you have virgin hair (hair that has never been touched by color, bleach or any other chemical), it could lift to a pretty neutral brown or dark blonde, but results will vary.
Dark hair can be lightened to a pretty brown color, but oftentimes dark hair pulls unnaturally warm, so you will want to do a test strand to examine the results and see if you like the final color.
Sun in works best on those with meidum blone to bright blonde hair if blonde results are desired.
Does Sun In Work In The Sun?
If you just said DUH and were going to continue scrolling down to the next question, stop! It may come to a surprise to many, including myself, but technically Sun In is made to be used with a blow dryer but can be used in the sun.
Overall it will work best with a blow dryer, but obviously you can use it with the sun outside. It is going to depend on the results you want and, more importantly, how fast you want to see results.
This is now the point in which you are scratching your head and wondering what the heck? Don’t worry; I will answer your question as soon as you take your cute little pointer finer scrolls to the next paragraph.
How Do You Use Sun In?
You want to actually use Sun in on damp hair! You can have it damp from it being fresh out of the shower, throw your head under the sink or spray it down with a spray bottle.
Spray the product onto damp hair and comb through to disburse it evenly. You can also take your fingers and massage it in.
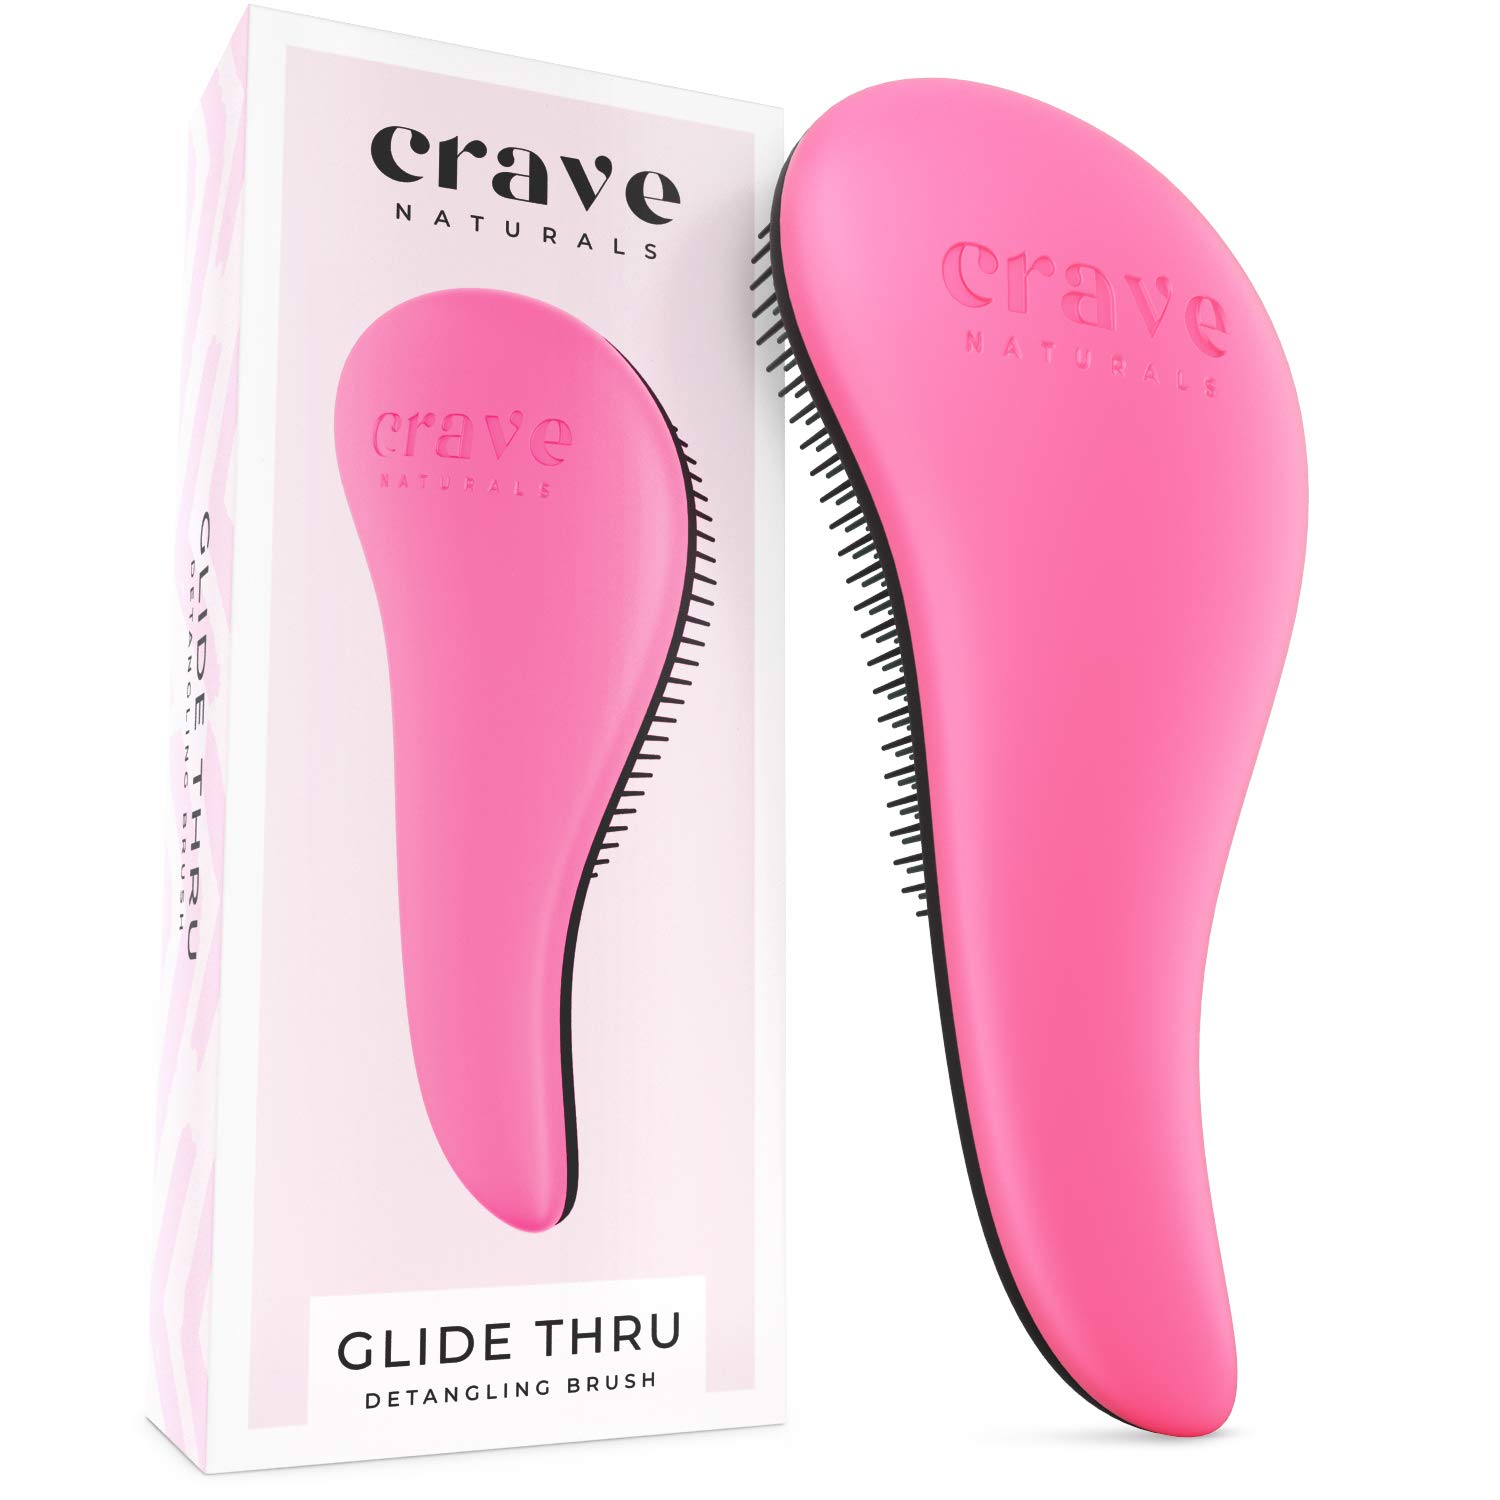
Make sure to use a wet comb or a detangling comb. Using the wrong type of comb or brush on wet hair will cause damage to your hair. This is an overall rule of thumb, not just when using Sun in.
Don’t own a wide-tooth comb or wet comb, no worries I got you. I personally love this one and it has over 8,500 revies and comes in a wide range of colors. This can work on wet or damp hair.
It is the perfect in-between of a brush and a comb which covers the best of both worlds.
The teeth on this comb will be able to disribute the product evenly.
Enough with the comb talk, lets continue how to use Sun In.
Once you have the product combed throughout the hair, you will want to use a blow dryer to activate it with direct heat, which will give you the fastest and best results. The reason why this method is suggested and will give you the best results is that the blow dryer provides direct heat onto your hair shaft. This helps lift the layers the hair shaft is made of and thus allows the Sun in to penetrate into the layers and change the hair color.
If you are looking for a more casual relaxed way to change the color spray it in and sit your little butt outside. Because the actual real sun is so far away, it will have a harder time penetrating the hair to change the color.
Another factor to consider if you want to go the natural route is the location in which you live. If you live in or close to a bigger city, then pollution will come into play because it blocks sun rays and the intensity in which you feel the sun, thus interfering with the color change.
It is the same reason you get burnt on vacation vs. at home even if you live in a sunny state. Pollution from cities blocks rays vs. sun in vacation spots, which is typically around no pollution.
You can use Sun In multiple times and repeat these steps until the desired hair color is achieved.
How Shoud You Apply Sun In?
While the science of how to use Sun In is, all the same, the way in which you apply it will make a world of difference.
There are a few different application methods and each will give a different result, so make ure you choose wisely.
All Over Color Change
Let’s start with the basics. If you want an all-over color change, you will want to spray yor hair all over with the product.
The best way to do this is by sectioning the hair off in 1/2 in sections. Start at the nape of your neck and work your way to the sides and front.
You want to leave the front for last, so the product sits on those strands for the least amount of time. This way, you won’t damage your hair by leaving it on too long, and you have a better chance to monitor the color change.
Once you have saturated the hair, go ahead and take your time brushing the product through with a wet brush.
If you are confident you have it applied it thoroughly and it’s fully brushed through then you can go ahead and blow drow each section. Make sure you blow dry in the same order you applied the product. You can also sit in the sun and let nature do its thing.
Repeat these steps until the desired hair color is acheived.
Why section hair when applying Sun In? Sectioning hair will ensure proper saturation of each strand. If you don’t section, you might miss a few pieces or full spots entirely, and this will result in blotchy, uneven looking hair.
Money Piece / Face Framing Color Change

Doing just the classic money piece, or in simple terms, big chunks of color upfront is going to be very dramatic so I suggest pairing it with some other face-framing pieces.
The money piece or face-framing sections are going to be the easiest to apply Sun in without having to be precise with the application because it is all done under your first few layers of hair.
To do this, you will want to first part your hair and prep it by doing proper sanctioning.
Start the first section from the center of your forehead right between your eyes leaving about a half-inch to hang in front.

Swoop in a diagonal line down around towards the side of your head, landing an inch above your ears. This will make somewhat of a triangle section, as you can see in the picture to the left here.
I suggest backcombing the top hair by the roots, so you end up getting a nice even blend. Without backcombing, you might end up with a harsh line. This can be an issue of you do your hair in different styles like braids, ponytails, or curls.
This isn’t the biggest deal since it is under the top few layers of hair, but the piece by the very top/ front will be a bit more noticeable, and this, at the very least, should be backcombed.
If you don’t own a backcomb they are super cheap and I suggest a dual tooth backcomb. I personally like the Dual Teeth Teasing Comb that is under $3!
Take the Sun In and spray half-inch sections of your hair. Try to part the downward divisions in triangles; think thicker top to thinner bottom, except for the front money piece. Make sure the money piece is the same width at the root to the end of the hair.
After you spray the sections you can warp it in foil and then put the blow dryer heat over the foil. This will help you achieve more lift and will help you get brighter pieces.
Dip Ends
Dip ends is probably going to be the easiest to do.
All you have to do is spray the very bottom of your hair. Make sure you backcomb a bit so that you get a nice graduated line. You are prone to having a harsh strain line without backcombing, and that just isn’t pretty.